Obtaining a certificate: Difference between revisions
Jump to navigation
Jump to search
| Line 2: | Line 2: | ||
== Quick documentation == | == Quick documentation == | ||
If you are familiar with the | If you are familiar with the certificates request procedure and you are confident, follow these steps, otherwise go to section "More extensive documentation": | ||
1. Go to https://cert-manager.com/customer/belnet/idp/clientgeant; | 1. Go to https://cert-manager.com/customer/belnet/idp/clientgeant; | ||
Revision as of 10:50, 20 September 2021
Quick documentation
If you are familiar with the certificates request procedure and you are confident, follow these steps, otherwise go to section "More extensive documentation":
 1. Go to https://cert-manager.com/customer/belnet/idp/clientgeant;
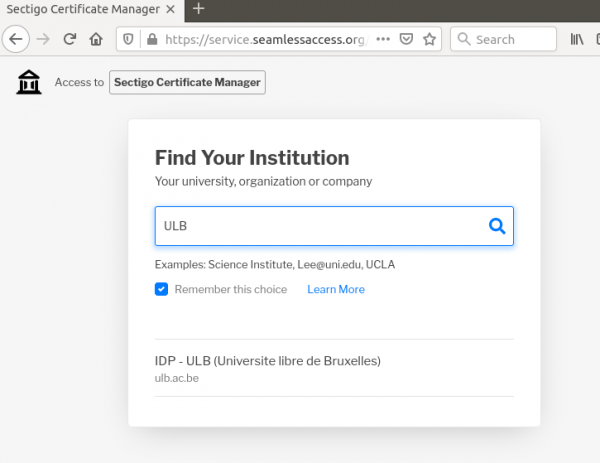
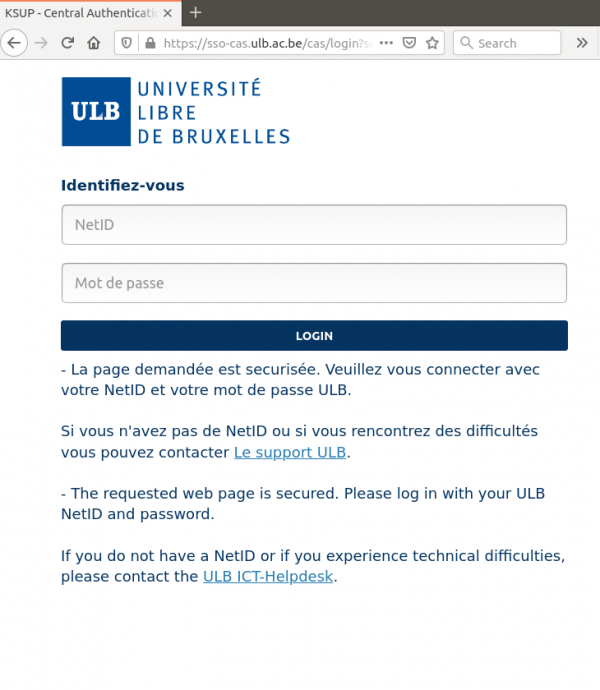
 2. Choose your institution, and login;
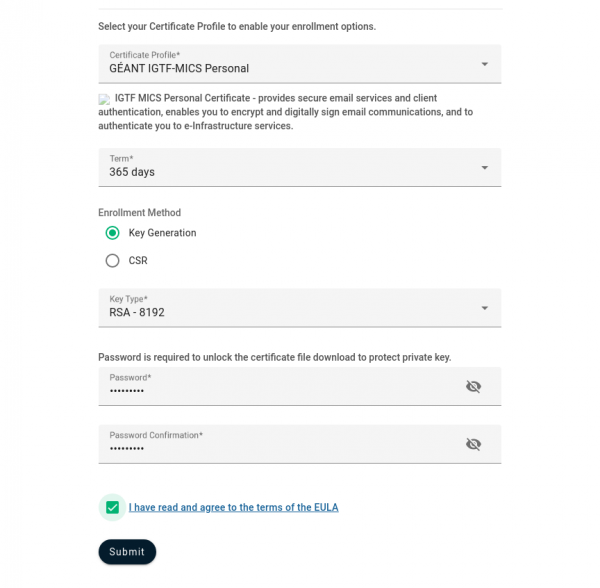
 3. Request a GEANT IGTF-MICS Personal certificate and use Generate RSA for the Private key;
 4. Give a Password to secure the P12 file that contains the certificate and Submit and Agree with the EULA;
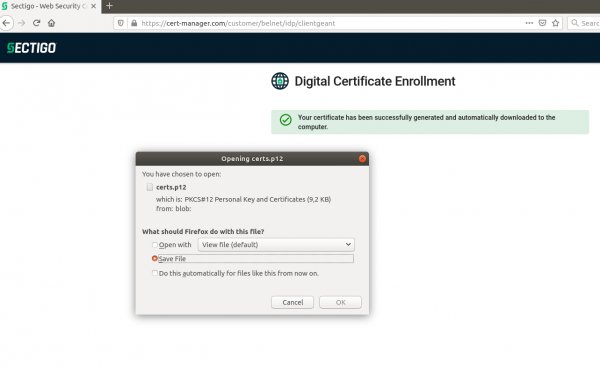
 5. This last step will trigger automatically the download of your certificate in a P12 file;
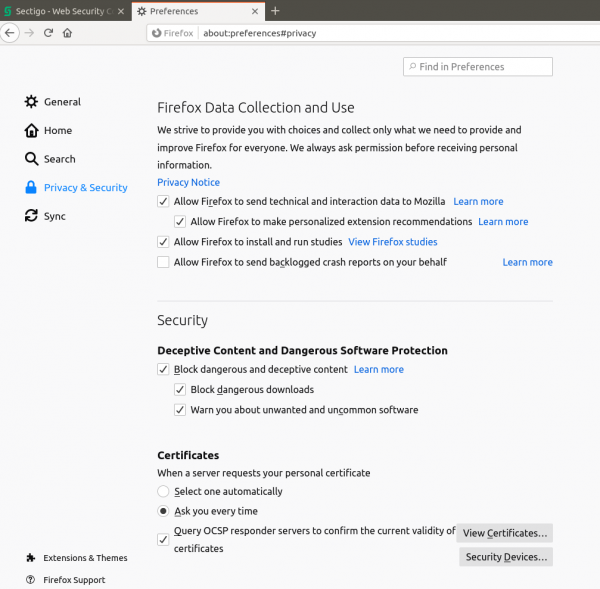
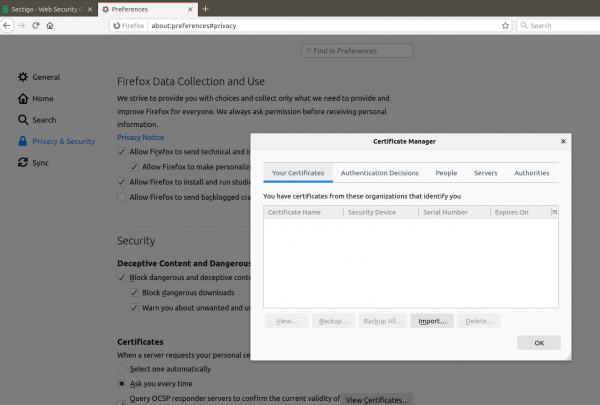
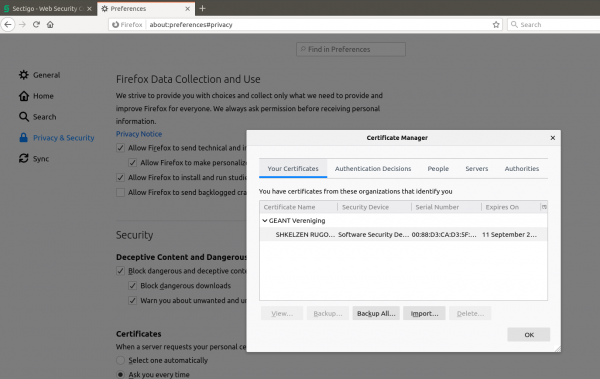
 6. You now have to upload the certificate on you browser.
More extensive documentation
Go to https://cert-manager.com/customer/belnet/idp/clientgeant
